How to use the booking calendar feature on SleepPRO™
Calendar
Your booking calendar lets parents book a sleep assessment call, a consultation or a follow-up session straight from your SleepPRO™ pages. No Calendly, no extra subscription, and everything stays in one place. Setting it up happens in four phases.
Find your booking calendar
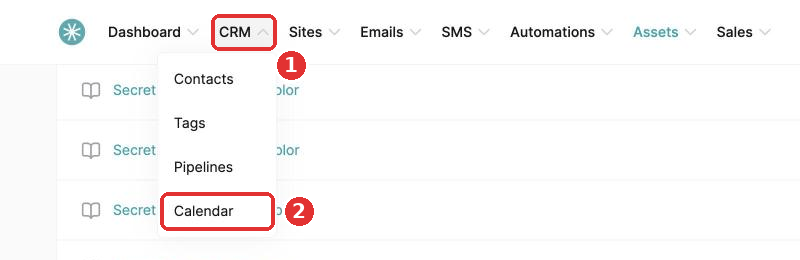
Go to CRM, then Calendar.
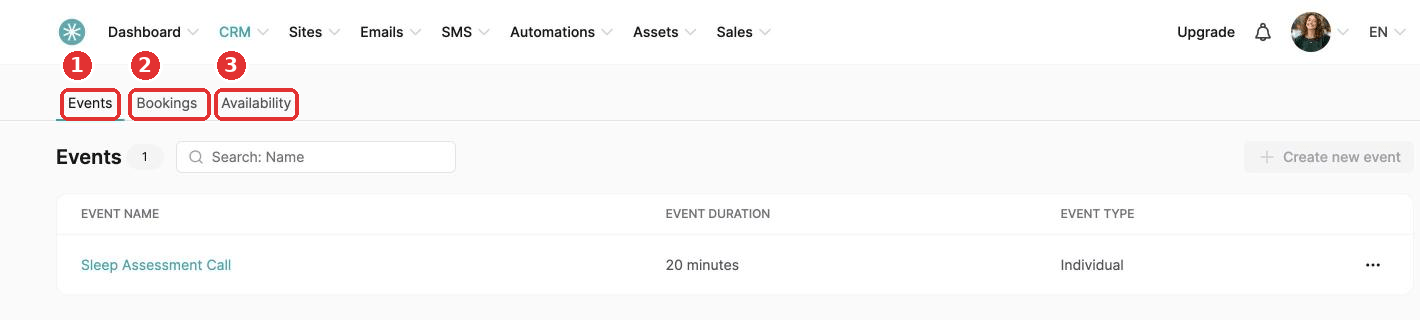
Your calendar has three tabs: Events (1), Bookings (2) and Availability (3).
Phase 1 (optional): connect your tools
Before you create your first event, connect SleepPRO™ to Zoom. Google Calendar and Google Meet integrations are coming soon. This stops double bookings and creates meeting links for your families automatically. These guides show you how:
- How to integrate Google Calendar with SleepPRO™ (coming soon)
- How to integrate Google Meet with SleepPRO™ (coming soon)
- How to integrate Zoom with SleepPRO™
Phase 2: set your availability and create your events
Availability is the days, hours and breaks you are open for calls. See How to set your calendar events availability.
Events are the types of sessions you offer, such as a free 15-minute sleep assessment call or a 60-minute paid consultation. You need at least one event before parents can book. See How to set up your calendar events.
Phase 3: add your calendar to a page
Parents book from a funnel page. You can offer two kinds of bookings:
- Free bookings: drag the Calendar element onto an opt-in page, sales page or blog page. See How to offer free calendar bookings.
- Paid bookings: drag the Paid calendar element onto an order form or payment page. See How to sell your calendar bookings.
Phase 4: manage your bookings
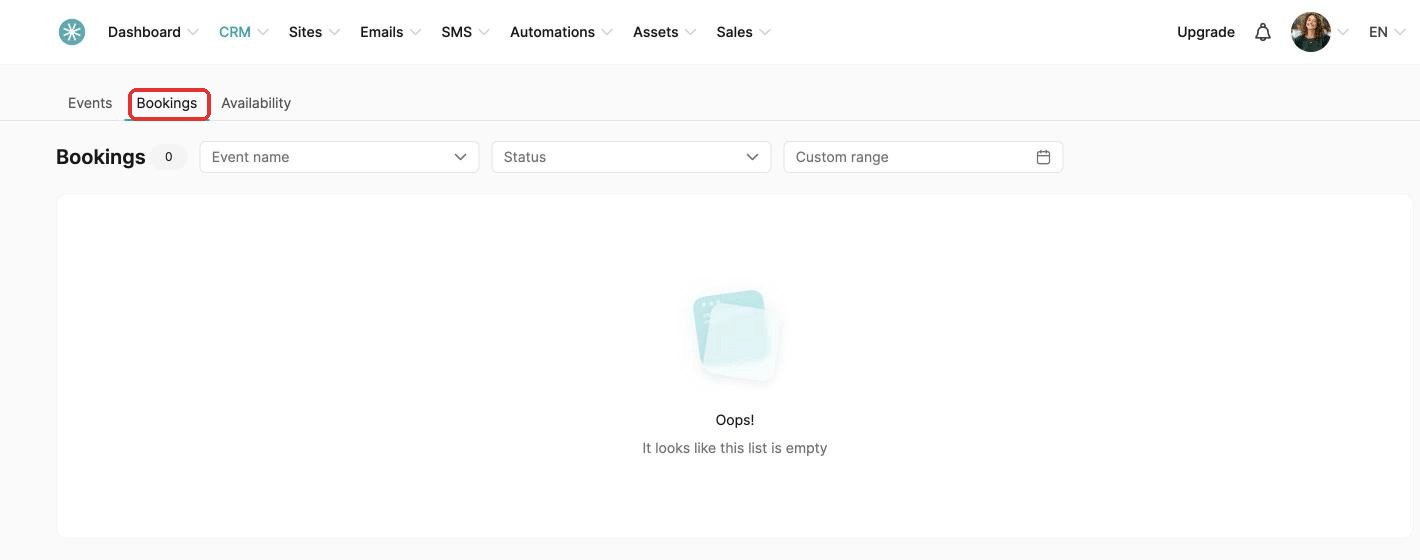
Once families start booking, open the Bookings tab. You will see every upcoming and past appointment, who booked, the date and the time. You can reschedule or cancel from here too. See How to manage your calendar bookings.